Detailed Installation Guide for Motorcycle Dash Cam
The general installation steps for a motorcycle dash cam are as follows:
Preparation
Tip: Prior to installation, connect the positive and negative terminals of the 12V battery to test if the product functions properly before proceeding with the actual installation.
- Tools: Prepare a multimeter, screwdrivers, scissors, wrenches, etc. If wire harness fixing is needed, also prepare cable organizers and cable ties.
- Accessories: Ensure the dash cam main unit, front and rear cameras, 3M adhesive tape, power cables, ACC cables, memory card and other accessories are complete.
- Dash Cam Check: Before formal installation, connect the circuits of all components first, including the front and rear cameras, main unit, GPS multi – function control box and 12V power cable. Connect the 12V power cable to the battery or fuse to confirm that all components can be turned on and function normally.
Main Unit Installation
Choose a proper location to install the main unit. Avoid installing it in places with high temperatures, such as near the engine or at the bottom of the storage box, and do not let it be covered by raincoats or other items. You can fix the main unit in the storage space under the motorcycle seat. After determining the location, tear off the 3M adhesive tape to fix the main unit. If installing on a curved surface, it is recommended to use cable ties for fixation.
Camera Installation
- Front Camera: Common installation positions are directly below the motorcycle headlight or near the instrument panel. During installation, first clean the installation surface to remove dust, oil stains, etc., then use 3M adhesive tape to fix the camera’s mounting bracket at the selected position to ensure firm installation.
- Rear Camera: It can be directly attached to the rear of the motorcycle with the included double – sided adhesive tape, or installed on the screws at the rear of the motorcycle. When wiring, tuck the cable of the rear camera under the rear seat frame, route it along the frame to under the seat, and connect it to the main unit.
Wiring
Start wiring from the position of the main unit. Route the wire harness along the gaps inside the motorcycle body to the positions that need to be connected. During the wiring process, be careful to avoid the handlebars and the engine to prevent the wire harness from being crushed or damaged by high temperatures. For the extension cables of the front and rear cameras, ensure a firm connection, and wrap them with heat shrink tubes or insulating tape to prevent short circuits.
Cable Connection
- Power Cable Connection: Generally, the power cable of the dash cam has two wires, red and black. The red wire is connected to the positive electrode of the battery, and the black wire is connected to the negative electrode of the battery. You can also find the reserved power socket in the wire package under the seat and connect it through the vehicle fuse, which is safer.
- ACC Cable Connection: The function of the ACC cable is to make the dash cam work when the vehicle is powered on and stop working when the vehicle power is turned off. First, you need to find the ACC cable of the vehicle. You can determine it by measuring the fuses in the fuse box with a multimeter, and then connect the ACC cable of the dash cam to the corresponding ACC power fuse.
Testing and Debugging
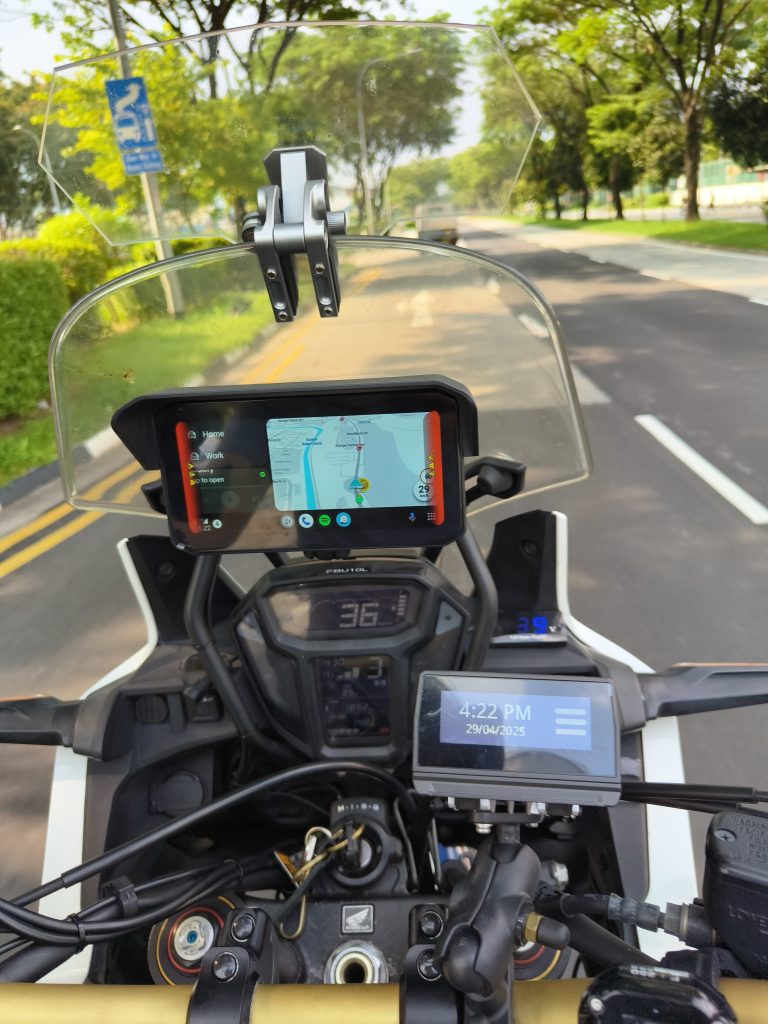
After the entire installation is completed, turn on the motorcycle key, check whether the dash cam starts normally and whether the screen display is normal. Test the shooting function to ensure that the picture is clear and the viewing angle meets expectations. At the same time, check the power supply situation to confirm that the ACC and constant power supply are stable.